How-to
How to make sea glass in a rock tumbler: grit, amounts and timing
Published
Short answer
Yes, a rock tumbler makes convincing sea glass. Load broken glass until the barrel is about 2/3 full, add about 2 level tablespoons of coarse grit (step 1, 60/90) per pound and water to just below the top layer, then tumble for 3 to 7 days. Stop there: the frosted look comes from the grit scratches, so there is no polish step.
Real sea glass is bottle glass that waves and sand have worn down over decades. A rock tumbler does the grinding part in days: grit rounds the sharp edges and leaves a fine, even scratch pattern that reads as frost. Glass is about Mohs 5.5, softer than the quartz-hardness rock most tumbling recipes are written for, so it shapes quickly and only needs the first step. The outcome depends on three things: the glass you start with, a properly filled barrel and when you stop. The one risky part is breaking the glass, which calls for eye protection and gloves.
Sea glass recipe for a rock tumbler
This is the standard step 1 load with glass in place of rock. The amounts scale with barrel size, and the grit calculator gives tablespoons for any barrel. Glass is also the one common case where sand is a usable stand-in for grit, as explained in grit substitutes.
| Item | What to use | Notes |
|---|---|---|
| Glass | Thick bottle or jar glass, pieces about 1/2 to 1 1/2 inches | Keep sizes similar; thin slivers grind away |
| Barrel fill | About 2/3 full, never under 1/2 or over 3/4 | Top up with ceramic media if short on glass |
| Grit | Coarse silicon carbide (step 1, 60/90) | Coarse sand also works on glass, more slowly |
| Grit amount | About 2 level tablespoons per pound of glass and media | A 3 lb barrel takes about 4 tablespoons |
| Water | To just below the top layer of glass | The same level as for a rock load |
| Time | 3 to 7 days, first check at day 2 or 3 | Thick or very sharp pieces take longer |
| Finish | Stop after this one step for a frosted surface | No polish step |
Which glass works, and how to break it safely
Thick glass gives the best pieces: wine and liquor bottles, old jars, heavy drinking glasses. Thin glass and narrow slivers wear down to nothing before the edges round. Aim for pieces at least about 1/2 inch across, and keep sizes close so large chunks do not smash small ones. Colored bottles give the classic greens, browns and blues, and clear glass turns white once it is frosted.
Wear eye protection and heavy gloves when breaking glass. Put the bottle inside a thick cloth bag or wrap it in an old towel, lay it on a hard surface outdoors and tap it with a hammer until the pieces are the size you want. Open the bag slowly and pick the pieces out with gloves on. To avoid breaking glass at all, buy pre-broken landscape glass or cullet.
Note.Eye and hand protection are standard for breaking glass. Keep children and pets away from the work area and sweep up carefully afterward: small shards travel farther than expected.
How to tumble glass in a rock tumbler, step by step
The steps are the same as a coarse grit run for rock, with two differences: you check sooner, and you stop after one step. Handle the glass with gloves until the first check, since the edges are still sharp.
- 1
Rinse the broken glass and soak off any labels. Weigh it: a 3 lb barrel holds about 2 lb of glass and media in total.
- 2
Fill the barrel to about 2/3 with glass. If you are short, add ceramic media to reach the level. Never run it under half full: the pieces slam and chip.
- 3
Add about 2 level tablespoons of coarse grit (step 1, 60/90) per pound of glass and media. Pour it gently, close to the barrel, so you do not breathe the dust.
- 4
Add water until it sits just below the top layer of glass. Wipe the rim and lid seal clean, close the barrel and start the tumbler.
- 5
Open the barrel at day 2 or 3, pointed away from you. Rinse a few pieces in a bucket, dry them and feel the edges. Close it and keep running if any edge still feels sharp.
- 6
Stop between day 3 and day 7, when every edge is rounded and the dry surface is evenly frosted. Rinse the glass in a colander over a bucket, never over a sink drain.
When to stop: frosted finish vs a smoother one
Judge the glass dry. Wet glass looks clear and glossy, and the frost only shows once the surface dries. A piece is done when no edge catches a fingertip, the broken faces have lost their shine and the whole surface is evenly matte. Shiny patches in hollows mean the grit has not reached them yet: run another day or two, with ceramic media to carry grit into the curves.
Coarse grit leaves a heavy, slightly rough frost, close to well-worn beach glass. For a smoother, satin frost, clean everything and run a second step in medium grit (step 2, 150/220) for a few days, checking daily. One long-running hobby reference skips coarse grit and frosts glass in medium grit alone for 4 to 5 days. Either way, stop before fine grit and polish, which turn the surface clear and glossy again.
| Finish | Steps to run | Stop when |
|---|---|---|
| Heavy frost, beach-worn look | Coarse grit only, 3 to 7 days | Edges rounded, dry surface evenly matte |
| Satin frost, smoother feel | Coarse grit, then medium grit for a few days | Dry surface feels silky and is still matte |
| Clear and glossy (not sea glass) | All four steps through polish | Dry pieces shine |
Pressure, slurry and cleanup
Glass loads build gas pressure in a sealed barrel more often than rock loads do. Look at the barrel once a day. If the lid or the barrel bottom bulges, stop the tumbler and open it carefully, pointed away from you, to let the gas out. Then wipe the seal, close it and restart.
The slurry holds fine glass particles and spent grit. Do not pour it down any drain: it settles like concrete. Pour it into a bucket, let it settle or dry, and put the solids in the trash, as described in how to dispose of slurry. Coarse grit is spent after one run and cannot be reused. Rinse the barrel, lid and seal before the next load.
Rock tumbling glass for mosaics and jewelry
Mosaic pieces need safe edges and flat faces more than a deep frost. Use flat glass or the flatter parts of bottles, run a short coarse grit load and check from day 2. Stop as soon as the edges no longer cut, while the pieces still have their shape. For pendants and wire wrapping, pick thick pieces and run toward the long end of the range so the outline is fully rounded.
Tumbled glass is craft glass. Genuine sea glass gets its surface from decades in salt water and collectors can tell the difference, so label tumbled pieces honestly if you sell or trade them. For the machine itself, a barrel sized for your batch matters more than the brand: see tumblers and grit for sea glass.
Quick answers
Short answers on tumbling glass. Amounts and days are the standard step 1 figures for a rotary tumbler, given as ranges to check by eye.
- Can you use a rock tumbler to make sea glass? Yes. Broken glass, coarse grit and water in a barrel about 2/3 full give frosted, rounded pieces in 3 to 7 days.
- Can you rock tumble glass with rocks? Not with agate, jasper or quartz. Glass is about Mohs 5.5 and the harder stones chip it. Tumble glass on its own or with ceramic media.
- Do you need polish for sea glass? No. Polish makes glass clear and shiny. Stop after coarse grit, or after medium grit for a smoother frost.
- Can you make sea glass with sand in place of grit? Coarse sand works on glass because glass is softer than quartz. It cuts more slowly, so plan on the long end of the range.
- How do you tumble glass for mosaics? Use flat pieces, run coarse grit and check from day 2. Stop when the edges are no longer sharp.
What you need for this
 See price on AmazonAmazon
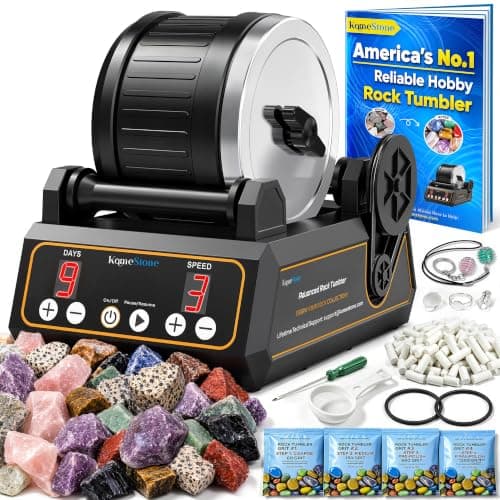
KomeStone K1 quiet tumbler kit, 2.5 lb barrel
 See price on AmazonAmazon
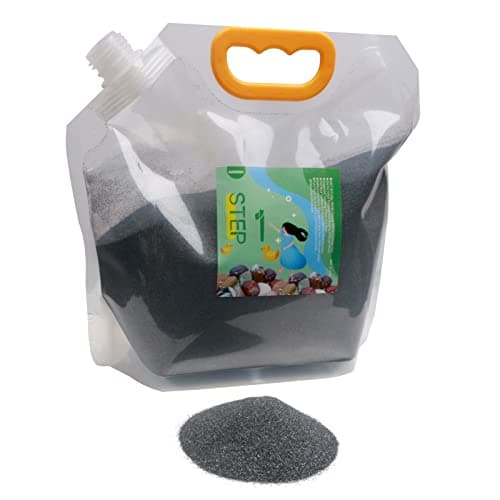
GANGOU coarse grit 60/90, 5 lb in resealable bags
From Best coarse rock tumbler grit: 60/90 silicon carbide for step 1
 See price on AmazonAmazon
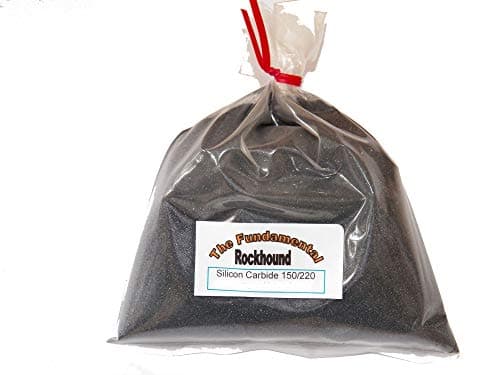
Fundamental Rockhound medium grit 150/220, 5 lb
 See price on AmazonAmazon
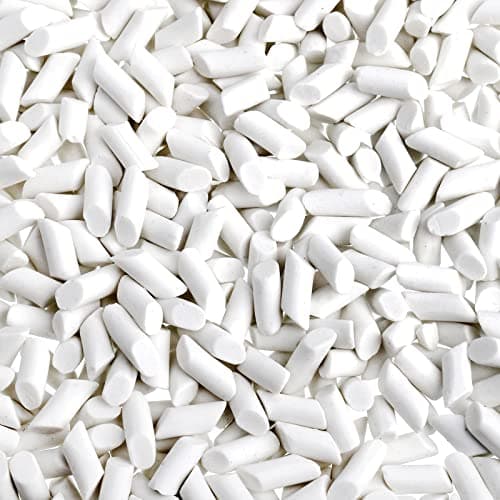
Hiceeden ceramic media, 1/5 x 2/5 in cylinders, 8 lb
From Best ceramic media for rock tumbling: sizes and how much to buy