How-to
How to tumble rocks: a step-by-step guide for beginners
Published
Short answer
To tumble rocks, fill a rotary barrel about 2/3 full with rocks of one hardness, add about 2 level tablespoons of grit per pound of rock and water to just below the top layer, then run it for about 7 days. Do that four times with a finer grit each time: coarse, medium, fine and polish. Clean everything between steps. A full batch takes 4 to 6 weeks.
This is the overview of the whole process for a first batch in a rotary tumbler, the kind with a barrel that turns on rollers. Each part links to the page that covers it in detail. Three things decide how the stones come out: rock that is hard enough and all of one hardness, enough time in the coarse step to get the shape right, and a thorough clean between steps. The machine does the work. Your part is a rinse and a reload at each grit change, and the patience not to move on early.
What you need to start rock tumbling
A beginner setup is short. The rock matters most: the best material is around Mohs 7, which means agate, jasper, quartz and petrified wood. The hardness chart shows which rocks tumble well and which to leave out.
- A rotary rock tumbler. Rock polisher means the same machine. A rubber barrel runs quieter than a hard plastic one.
- Rough rock of one hardness, in mixed sizes from small to large, enough to fill the barrel about 2/3 full.
- Four grits: coarse (step 1, 60/90), medium (step 2, 150/220), fine or pre-polish (step 3, 500 or 600) and polish (step 4).
- Ceramic media to top up the barrel as the rocks get smaller and to cushion the load in the later steps.
- A colander and a bucket for rinsing, plus a tablespoon measure kept only for grit.
How does a rock tumbler work?
A rotary tumbler is a sealed barrel that turns slowly on two rollers, driven by a small motor and a belt. As it turns, the rocks ride up the barrel wall and slide back down over each other. Grit caught between the stones does the grinding, and the water carries the worn rock away as a mud called slurry. It is the wear a river gives a pebble, packed into weeks.
Only the coarse step changes the shape of a stone. Each later step uses a finer grit that removes the scratches left by the step before, until the surface is smooth enough to shine. That is why the order never changes and why no step can be skipped.
How to load a rock tumbler barrel
Loading is the same at every step. Fill the barrel between 1/2 and 3/4 full, with about 2/3 as the target. Below half the stones slam into each other and chip. Above 3/4 they have no room to tumble. Mix sizes so the load rolls instead of sliding.
Then add the grit and the water. The rule is about 2 level tablespoons of grit per pound of rock, with water to just below the top layer of rocks. A barrel's rating counts rock, water and grit together, so a 3 lb barrel holds about 2 lb of rock and takes about 4 tablespoons. The grit calculator does the sum for any barrel size.
Note.Wipe the rim of the barrel and the lid seal before closing. Grit on the sealing surface is a common cause of leaks.
Rock tumbling instructions: the steps in order
The whole process is one routine repeated with four grits. Grit grades, alternatives and the finish to look for are laid out in the rock tumbling grit chart. For what makes a step run long, see how long to tumble rocks.
- 1
Sort the rough. Keep rocks of one hardness, around Mohs 7 for a first batch, in mixed sizes. Set aside pieces that are cracked through or crumbly. A full batch from here takes 4 to 6 weeks.
- 2
Step 1, coarse grit (60/90 silicon carbide). Load the barrel 2/3 full, add about 2 tablespoons of grit per pound of rock and water to just below the top layer. Run 7 days. Repeat with fresh grit until every stone is rounded with no pits or cracks, often 2 to 4 runs for jagged rough.
- 3
Clean up. Rinse the stones, barrel, lid and lid seal until no grit is left. Do this after each of the four grit steps, every time.
- 4
Step 2, medium grit (150/220 silicon carbide). Top up to 2/3 full with ceramic media, use the same 2 tablespoons per pound and run about 7 days. Move on when the stones are smooth and evenly matte.
- 5
Step 3, fine grit or pre-polish (500 or 600 silicon carbide). Same amounts, about 7 days. Move on when dry stones look satin and feel silky.
- 6
Step 4, polish (aluminum oxide is the common one). Same amount, 7 to 10 days. The batch is done when dry stones shine.
- 7
Optional step 5, burnish. Tumble the polished stones in soapy water for 1 hour to 1 day to wash off polish film. The recipe is in burnishing tumbled rocks.
Clean up between steps and handle the slurry
Cleaning is the part beginners rush, and it decides the polish. One grain of coarse grit carried into a later step scratches the whole batch. Rinse each stone, then the barrel, the lid and the lid seal. Look into cracks and holes in the stones, where grit hides.
Pour the slurry into a bucket, never down a drain, where it settles like concrete. Let it settle or dry out and put the solids in the trash. Open the barrel carefully and pointed away from you, because gas pressure can build up during a run.
How to tell when to move to the next step
Go by the stones, not by the calendar. Seven days is when you look, not a guarantee that the step is finished. Dry a few stones before judging them, because wet stones look finished at every step. Anything that fails the check for its step stays in that step for another run. The step 1 check is the strict one: a pit or crack that leaves coarse grit is still there after polish.
Note.If the finished batch is dull, more polish is rarely the answer. The causes and the fix are in why tumbled rocks are not shiny.
Rock tumbling tips for beginners
Most first-batch problems come from a handful of habits. Kit tumblers with grit packets, National Geographic and similar, follow the same order but are set up for one packet per step, so use the kit manual for packet amounts and times.
- Do not mix hard and soft stones in one load. The hard ones grind the soft ones away.
- Keep the barrel about 2/3 full at every step. Rocks shrink in step 1, so top up with ceramic media and count it as rock when measuring grit.
- Pour dry grit gently and close to the barrel so you do not breathe the dust.
- Give the motor air. A mat under the machine or a spot in the garage cuts the noise, but never fully enclose the motor.
- Write down the date, step and grit amount for every run. Repeat coarse runs are easy to lose count of.
- Used coarse grit is spent after a run. Start each run with a fresh charge instead of saving the old slurry.
Quick answers
The basics for a first batch in a rotary tumbler, in a few lines. Each answer assumes hard rock around Mohs 7 such as agate or jasper.
- How do you use a rock tumbler? Fill the barrel 2/3 full of rock, add grit and water, seal it and let it run for about a week. Rinse everything and repeat with the next finer grit.
- How does a rock tumbler work? The barrel turns, the rocks slide over each other, and grit trapped between them grinds the surfaces smooth.
- What rocks are good for tumbling for beginners? Agate, jasper and quartz. They are all around Mohs 7 and take a good polish.
- What is the most useful rock tumbling tip? Do not leave the coarse step early. Shape and flaws are fixed in step 1 or not at all.
What you need for this
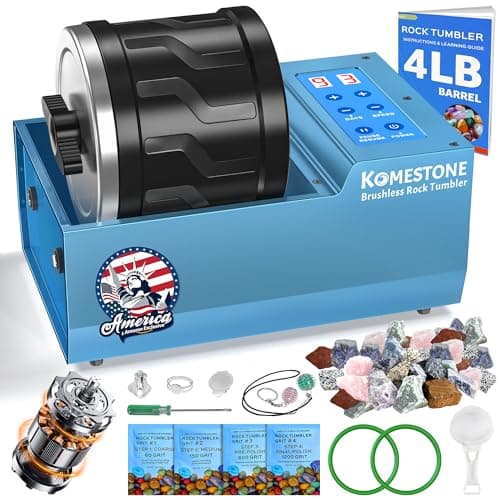 See price on AmazonAmazon
KomeStone G1 rock tumbler kit, 4 lb rubber barrel
From Best rock tumblers for adults: hobby-grade rotary machines
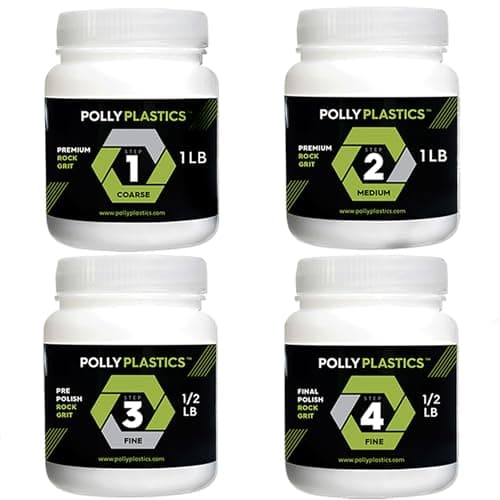 See price on AmazonAmazon
Polly Plastics 4-step grit and polish kit, 3 lb
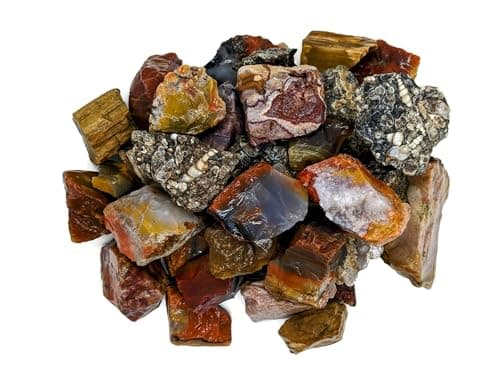 See price on AmazonAmazon
Mooseman Minerals agate and jasper rough mix, 3 lb
From Best rough rocks for tumbling: mixes and single-stone bags
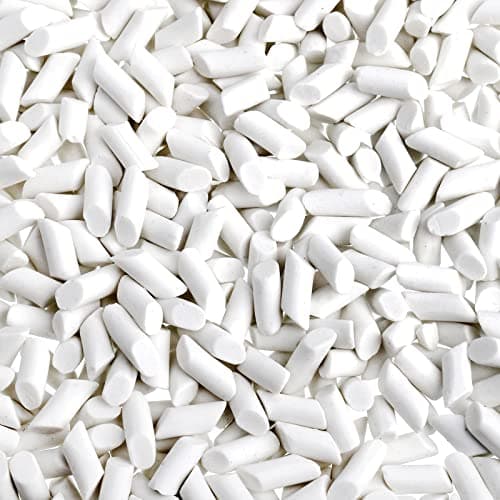 See price on AmazonAmazon
Hiceeden ceramic media, 1/5 x 2/5 in cylinders, 8 lb
From Best ceramic media for rock tumbling: sizes and how much to buy